Our Location
5th Floor, Huake Center, Lanshan District, Linyi City, Shandong Province, China

5th Floor, Huake Center, Lanshan District, Linyi City, Shandong Province, China

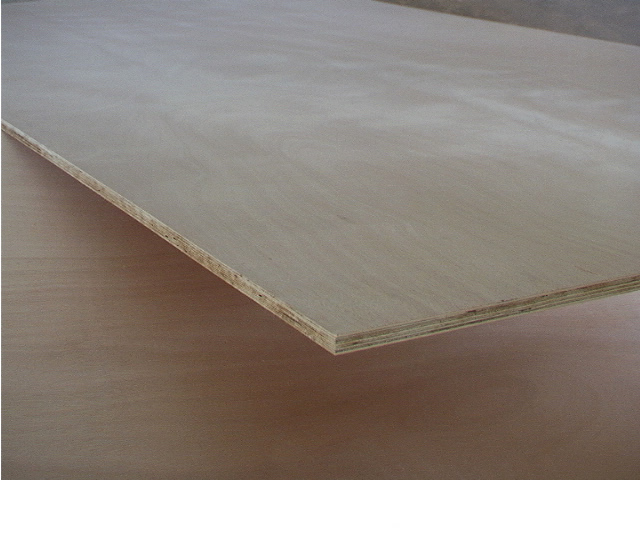
Plywood clips are the metal or plastic fixings that hold panel edges and sheet goods without screws showing on the face, used for securing panels to walls, ceilings, and stud frames. A plywood clip grips the sheet edge and anchors to the framing behind, so the panel hangs flush and the surface stays clean. This guide explains the types of plywood clips, where each one works, and how to fix panels and partitions with a hidden edge detail.
Visible screw heads break the clean face of a plywood panel, and clips solve the problem by grabbing the edge instead of the face. The clip fixes to the stud or rail, then the panel sits into the clip’s grip, leaving the front surface unmarked and easy to finish.
Plywood clips hold a sheet to a framework by gripping the panel edge, transferring the load to the structure through the clip’s anchor. The sheet slots into the grip and the face stays clean of fixings. The system suits panels fixed before a cover goes on or partitions that want a seam-free skin.
The panel rests on the clip’s jaws or tangs, and the clip screws or nails into the stud below the sheet line. The panel edge carries the weight into the clip, and the face never takes a fastener. Any future removal lifts the sheet off the clips without patching a screw head.
Plywood clips suit wall panels, ceiling boards, bench skirts, and partition skins where screw heads would show or the surface must stay continuous. They also serve removable panels that need a clean pull-off, such as access panels and display boards. The clips replace screw patterns wherever the face finishes smooth.
| Clip type | How it grips | Typical use |
|---|---|---|
| J-clips | Edge channel hook | Wall, ceiling panels |
| T-clips | Flat tang grip | Partition skins |
| Panel clips | Spring or angled jaw | Removable skins |
| Edge track | Continuous channel | Floor and bench skirts |
Each clip family serves a different joint and load: a hook holds an edge while the panel hangs, a flat clip skins a frame, and an edge track trims a run. The fix depends on the sheet orientation and the load it carries.
A J-shaped clip hooks under the panel edge and anchors to a bracket or rail, letting the sheet sit down into a row of clips along the underside. A row of J-clips holds a ceiling or wall panel with the face untouched. The clip adds a clean removal path when a panel needs service access.
A flat T-clip sits against the framing and grips the panel edge with a barbed or bent tang, fixing a partition skin edge-to-edge across the studs. The clips run along every sheet edge and spread the panel load evenly. T-clips keep the seam between skins tight and the face screw-free.
A continuous aluminum or plastic track holds the panel edges along a full run, used for bench skirts, floor bases, and removable skirting. The channel grips the edge and the panel slides in and out for access. The track gives the neatest edge detail for furniture and storage clads.
Clips are bought to a sheet thickness and a load, and the choice balances edge grip, the panel weight, and whether the panel must release later. The buyer matches the clip to the plywood edge and the fixing method.
Clips size to material thickness: a 12 mm panel takes a 12 mm clip, an 18 mm sheet a wider grip, and the clip must not crush a thin edge. The clip’s slot or tang dimension sets which sheet it accepts. Buying clip to thickness stops a loose or over-tight grip.
The clip anchors to the framing with screws or nails rated for the panel weight, and heavy panels need more clips at a closer spacing. A large wall skin distributes its weight over a grid of clips rather than a few point loads. The spacing follows the manufacturer’s layout table.
Permanent clips screw tight where the panel stays fixed, and spring or hook clips release where the panel must come off for access. Releasable clips add a lift-and-pull removal path without tools. The buyer picks the style by whether the sheet ever leaves the frame.
Installing on clips means setting the framing, fixing the clips on layout, and dropping the panel into place. The clip system rewards accurate layout more than it penalizes it, because the panel sits exactly where the clips say.
The installer marks the framing and fixes the clips at the rails and studs, following the spacing that carries the panel weight. Layout marks on the frame keep every panel edge seated on a clip line. The panel sits over the clips with its edge and its seam line aligned to the grid.
The panel lifts onto the lower clips and tips into the upper ones, seating its edges into the grips along every support line. The sheet lands flush with the surrounding panels, and the clip jaws take the load. A clean tap with a rubber mallet seats the edge without marking the face.
After seating, the installer checks the seam across panels and the face plane for any rocking or proud edges. An unlevel clip shows as a panel lip, corrected by adjusting that clip before the next sheet sits. The check keeps the finished wall flat.
For releasable clips, the installer pries the panel edge free with a flat bar and lifts the sheet off the jaws, leaving the frame and the adjacent panels untouched. The panel lifts straight out along its edge. Re-set the panel the same way, and the seam closes back up.
The clip only holds as well as its anchor, so the screw or nail into the framing carries the whole panel load. The fix size and depth follow the stud material and the clip’s layout table.
Self-tapping screws drive into timber studs and rails through the clip’s anchor hole, sized to the stud and the panel weight. A coarse thread grabs the softwood and a depth stop keeps the head tight. The screw holds the clip in place so its jaws can grip the sheet.
Where speed matters, clips nail or hammer-set into place with the pin holding the anchor until the next panel sits. Masonry walls take a concrete anchor through the clip, with the expanded shell biting the block behind. The fixing type matches the backing, never the clip alone.
Light acoustic panels and decorative skins add a construction adhesive bead behind the sheet so the panel bonds while the clips locate the edge. The adhesive carries the low load and the clips hold the geometry. The hybrid fix suits thin, light panels that must not drum.
Clips and screws each have a role, and the choice follows the face finish, the removal needs, and the load. Clips win where the face must stay clean, screws win where the load is high and direct.
Clips win for removable skins, painted or clear-finished faces, and panels that need a screw-free surface. The clip system also speeds a whole wall of panels by removing the need to countersink and fill every screw. The clean face is the clip’s whole reason.
High-load structural panels, heavy shelving, and panels that shear under lateral load still want direct screws or bolts into the framing. Screws give a positive mechanical bite that a clip edge grip does not match at extreme load. The engineer specifies direct fixing where the design demands it.
Many installs fix the master panel with screws at hidden positions and clip the remaining sheets for a uniform exposed face. The combination keeps one visible face screw-free while the structure anchors solidly. The hybrid covers both the structural and the aesthetic demands.
Once a panel sits on its clips, fine adjustments move the sheet a few millimeters by loosening the clip anchors and sliding the jaws before re-tightening. The movement aligns seams without lifting the panel. The adjustment window saves a full re-fit when a joint rocks or a reveal needs a nudge.
Buyers ask the same questions about plywood clips, and these answers cover the ones that come up most often.
Plywood clips hold panel edges to a frame without screws showing on the face, suiting wall, ceiling, bench, and partition skins where a clean surface matters.
The clip anchors to the framing and grips the panel edge with a jaw or a hook, transferring the sheet weight into the structure. The front face stays unmarked and removable panels lift off the clips.
Choose a clip sized to the 18 mm edge, with a slot or tang matched to the thickness. The spacing and the screw rating follow the panel weight and the manufacturer’s layout table.
Yes when spaced and rated correctly. A grid of clips distributed across the panel edges carries the weight, and releasable clips serve removable panels and access skins.
High-load horizontal parts usually want direct screws or bolts, while edge clips handle panels and skins. For shelves under heavy load the structural fixing beats an edge clip.
Plywood clips keep panel faces screw-free while the sheet hangs flush on the framework, and the right clip type, thickness, and spacing make the system hold. Use the clips for wall, ceiling, and partition skins that finish clean, and combine them with direct fixing where the load demands. For panels that grip clean at the edge, a manufacturer such as HYY supplies Commercial Plywood and MDF Board with consistent thickness and flat, void-free edges ready for clip fixing.