Our Location
5th Floor, Huake Center, Lanshan District, Linyi City, Shandong Province, China

5th Floor, Huake Center, Lanshan District, Linyi City, Shandong Province, China

A plywood arch backdrop turns a plain wall into a curved, photogenic backdrop for events, weddings, product shoots, and shop displays. Building a plywood arch backdrop means framing a curved or pointed arch silhouette in plywood, finishing the surface, and standing it against a wall or in a room. This guide explains how to design, build, and finish a plywood arch backdrop that looks clean and carries the display in front of it.
The arch backdrop works because the curve frames a person, product, or table with a clean silhouette that cameras love and rooms read as an intentional feature. Plywood keeps the build light, cheap, and movable compared with plaster or metal, and the flat face finishes smooth for any decoration.
The design starts with the proportions: the arch width, height, and radius set the backdrop’s character, and the room or the purpose decides those numbers. A tall full-radius arch suits a standing portrait, while a shorter arch fits a table or product display.
The backdrop width sits a little wider than the subject, and the height clears the tallest feature the frame will draw. The arch radius either follows a half-circle from the width or rises into a taller pointed curve. Marking the proportions on paper first keeps the plywood cuts right.
A single arch frames one opening, and a stacked double arch adds depth when the backdrop shows a skyline or layered panels. Twin arches side by side suit a wider stage or a two-person frame. The silhouette choice follows the event format and the space.
Beyond the half-circle, pointed and gothic arch profiles add a different character for themed weddings and events. A pointed arch reads taller and more dramatic than a round one, drawing the eye up the frame. The builder marks the peak and the shoulders on the template before cutting the curve.
A freestanding backdrop needs base legs that keep the arch upright without tipping; a wall-mounted version bolts to the wall behind it. The legs tuck behind the face so the front reads clean. The builder matches the stand to the backdrop’s weight and the floor it stands on.
| Backdrop type | Typical use | Stand approach |
|---|---|---|
| Single arch | Weddings, portraits | Freestanding legs |
| Double arch | Stage, wide frames | Braced legs |
| Pointed arch | Themed events | Wall or legs |
| Small product arch | Shop displays | Tabletop base |
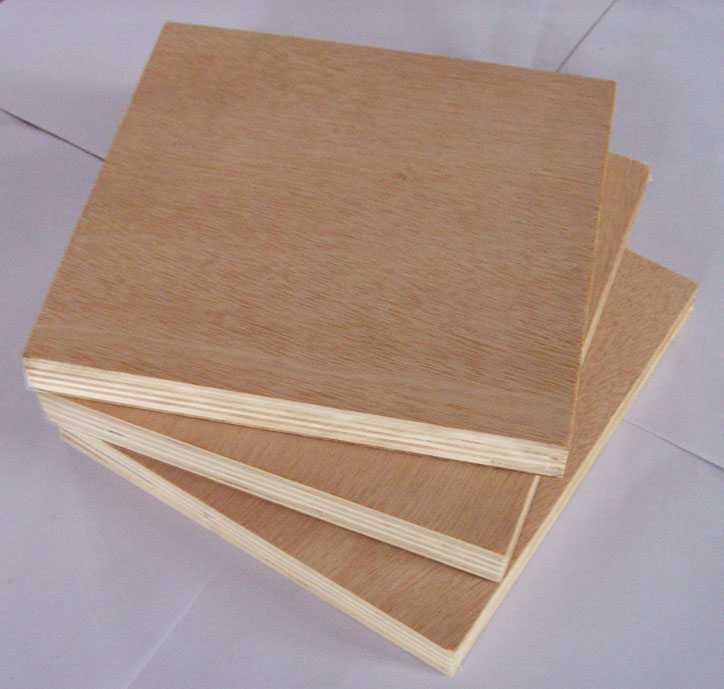
The plywood grade sets how the backdrop finishes: smooth faces paint clean, hides seams, and stand up to handling. Most backdrops use standard furniture-grade plywood with a sanded face.
A sanded A or B face paints smooth with a light primer, while a rough utility face takes more filling and coats. The backdrop sits in front of cameras, so the face finish matters more than on hidden work. Furniture-grade sheets save the prep hours that a rough face demands.
A 12 mm panel stands stiff without heavy bracing, and 12-18 mm suits large arches; thin 6-9 mm panels flex and need a frame behind them. The thickness keeps the backdrop true when it moves between venues. The builder braces large faces with angles and cross rails.
Voids at the cut edge show at the arch line, so a void-free core gives the silhouette a clean profile. Filled or patched cores leave pits that a painter must fill before the backdrop looks solid. The buyer checks the cut edge on a sample before committing to a large face.
The frame holds the outline and the flat face, and it does the structural work while the plywood skin carries the look. A simple grid of rails and the cut profile make a rigid, light backdrop.
The builder bandsaws or jigsaws the arch outline from the sheet, cuts the opening, and keeps left and right sides mirror-equal. A template or a one-side pattern flip keeps the pair matching. The cut profile becomes the front frame of the backdrop.
Cross rails join the two arch sides at the top and the base so the backdrop stands square and holds its shape. The rails screw and glue into the sides at the right depth. The frame assembly takes one pass of clamps and squares before the face goes on.
A flat plywood face or open panels screw to the frame, with the visible surface finishing smooth. Open arches leave the wall visible through the opening, while a backed panel closes the silhouette. The builder chooses the open or closed version for the display need.
The builder breaks the full sheet into the profile and the face panels with a panel or track saw, keeping the parts square before assembly. A full sheet plan lays out the arch, the legs, and the rails together so one sheet serves the whole backdrop. Recycling the offcuts into legs and braces keeps the build economical.
The finish makes the backdrop read as a prop or a permanent feature, from painted flat to textured to draped. The plywood face preps for whatever coat the design calls for.
The face sands smooth, the panel seams fill and fair, and screw heads set below the surface. The prep work happens before prime so the topcoat lays level. A flat, filled face is what makes the paint look sprayed.
A primer seals the face and the cut edges, then two finish coats cover in the event or photo color. The arch curve paints with the same smoothness as the flat face when applied in even strokes. The topcoat color and sheen set the backdrop’s final presence.
Many backdrops carry flowers, foliage, or fabric draped over the arch, fixed with staples, hook-and-loop, or clips. The plywood gives a firm base for whatever the design adds, and removable decoration lets the backdrop switch themes. The surface choice between painted and draped drives the finishing.
A backdrop must stand stable during the event, and the legs, base, or wall fixing carries that duty. The rigging plan comes before the event day, not after the first draft.
A-frame legs hinge behind the backdrop and fold flat for transport, with the footprint sized to stop tipping. Strap weights or sandbags anchor the legs against drafts. The leg design balances portability with the stability the event needs.
For permanent or allowed installs, the backdrop bolts to the wall through the legs and the top frame. Wall fixing keeps the floor clear and the backdrop perfectly vertical. The fixings follow the same anchor rules as any wall-mounted panel.
An event floor sees foot traffic and breeze, so the backdrop’s base carries more than its own weight once people move around it. Leg weights, struts, and a low center of gravity keep the panel solid when brushed. The rigging doubles as a safety check before the first guests arrive.
Folding legs and a flat-faced panel pack into a vehicle or a storage rack with the face protected. Edge caps and a face cover keep the finish clean between events. The handling routine keeps a backdrop looking new through many shows.
Buyers ask the same questions about plywood arch backdrops, and these answers cover the ones that come up most often.
Furniture-grade plywood with a sanded face and a void-free core. It paints smooth, keeps clean cut edges, and stands stiff at 12-18 mm for large arches.
A-frame legs hinge behind the face, or the panel mounts to the wall. Freestanding legs fold flat for transport and anchor with weights at the event.
Yes. A painted, finished backdrop travels and stores well, and removable drapes or greenery let it switch themes. Edge caps and a face cover keep it clean between events.
Wider than the subject and tall enough to clear the tallest feature the frame draws. A half-circle radius from the width suits most portrait and event framing.
Large faces need cross rails and, for freestanding units, a braced leg base. The bracing keeps the panel rigid and the backdrop stable on the event floor.
A plywood arch backdrop turns a curve and a flat face into the framed, photogenic feature of an event or a display. Design the proportions, cut the mirrored arch, finish the face smooth, and rig the base for stability. For the flat, sanded panels behind the build, a manufacturer such as HYY supplies Commercial Plywood and MDF Board with smooth faces ready to prime and paint.