Our Location
5th Floor, Huake Center, Lanshan District, Linyi City, Shandong Province, China

5th Floor, Huake Center, Lanshan District, Linyi City, Shandong Province, China

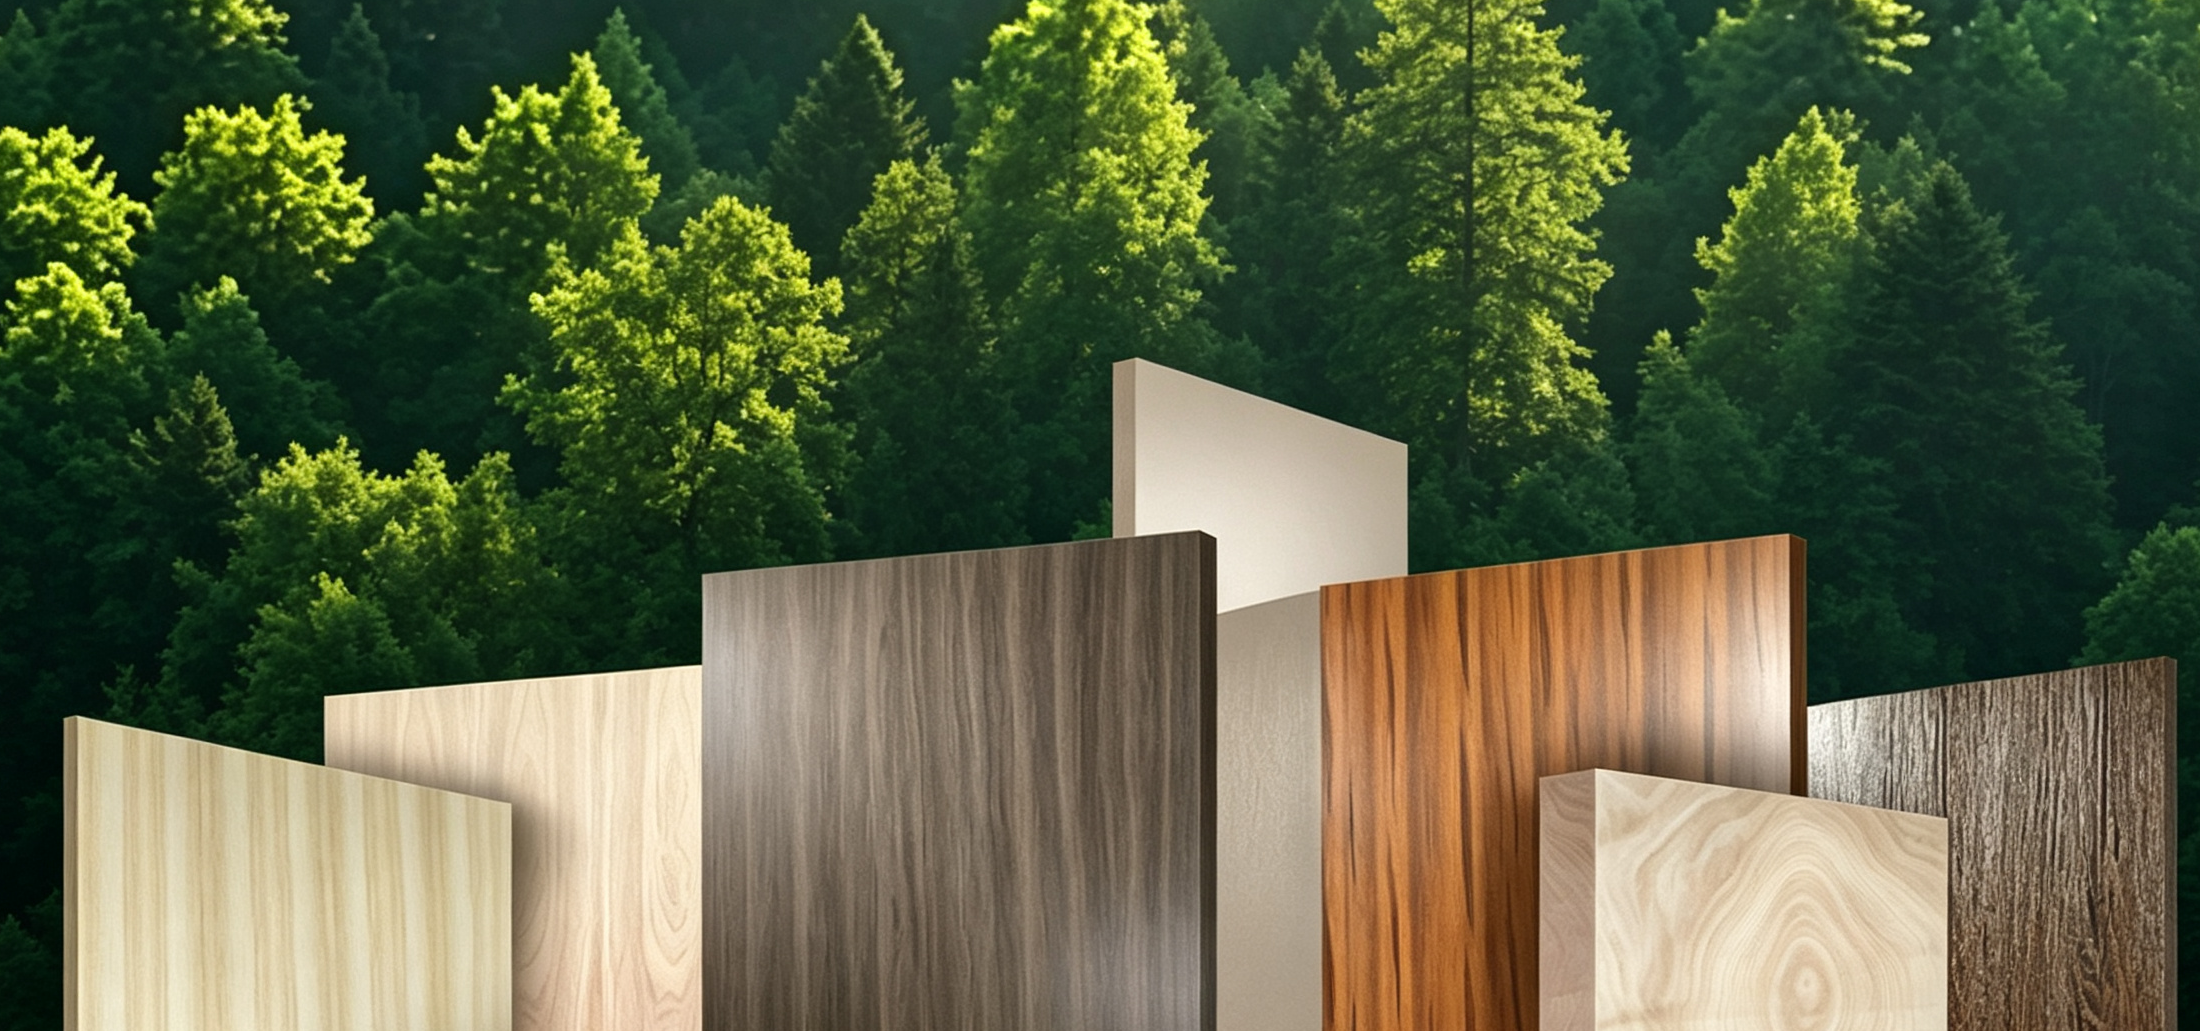
A plywood arch frames a doorway, window, or opening with the smooth curved look that rooms use for a soft, classic transition. Building a plywood arch means cutting a curved profile from sheet stock, laminating thin strips for deep curves, or framing a curved opening with flexible plies. This guide explains the three main ways to build a plywood arch, which method suits which curve, and the finishing details that make the curve look clean.
Plywood is a natural material for arches because it cuts into smooth curves and holds the shape across an opening when installed against framing. The arch can follow a doorway, cap a window, or finish a niche, and each build uses a slightly different plywood technique.
Three approaches cover nearly every plywood arch: cutting the curve from solid sheet, laminating thin plies into a curved profile, and framing the opening with flexible panels. The curve radius and the arch depth decide which method works best.
An arch cut directly from a sheet follows the curve with a jigsaw or router template, then mounts over the opening as a decorative frame or returns the wall. This suits shallow arches and trims where the curve sits in one plane. The cut panel gives a crisp edge that paint or trim finishes.
Deep and tight curves bend better when the builder glues several thin plywood strips into a curved form and lets them cure as one curved piece. The laminated arch holds its shape without springing back and carries heavier trim. The method builds structural arches as well as cosmetic frames.
A curved opening that runs through a whole wall uses a flexible plywood or bends a sheet along a radius over structural framing. The panel skins the curve and the framing carries the load behind it. This method builds full archways and curved returns in drywall-style stud framing.
| Method | Best curve | Typical use |
|---|---|---|
| Solid-sheet cut | Shallow, one-plane | Arch trims and frames |
| Laminated strips | Deep, tight radius | Structural and heavy trim |
| Flexible skin | Full through-wall | Open archways and returns |
The plywood species, thickness, and bendability decide how the arch builds. Shallow cuts take standard sheet stock, while curved skins and laminations need flexible, void-free panels.
Flexible or wiggle plywood bends across its width in one direction and suits tight radius skins that bend in place. The panel’s cross construction lets it arc without cracking, then stiffens once fixed and finished. Buyers use this grade for the tightest curves and quick profiles.
Deep reveals and returned edges need thicker stock, while flat trim profiles take thin panels that cut easily. The thickness drives how deeply the panel flexes and how much support the arch needs behind it. The builder matches thickness to the profile depth and the load it carries.
A void-free core cuts the arch curve with a clean edge that paints without visible pits, while a patched or honeycomb core leaves blemishes at the cut line. Furniture-grade and marine plies hold the cleanest edges. The buyer checks the core quality before trusting a painted arch to look solid.
The cut quality decides whether the arch reads as a clean curve or a wobbly line. Marking the curve, cutting with a fine blade, and dressing the edge turn a plywood profile into a finished-looking arch.
A template, a trammel, or a bent batten marks the curve so both sides match and the slope rises even. Symmetry matters more than any single dimension, because the eye reads a lopsided arch at a glance. The builder checks the mark against the opening before cutting.
A jigsaw with a fine blade follows the mark slowly and leaves a face that needs light dress; a router and template give a factory-smooth edge in one pass. The cut direction and the panel support keep the veneer from tearing at the curve. A sharp blade and steady feed do most of the finishing.
Sanding the cut face smooth and filling any light tear-out prepares the profile for paint or a trim cap. Where the arch meets the opening or a return, the joint gets a glued, clamped seam that closes flush. The edge dressing turns the cut panel into a finished architectural piece.
Building a deep arch as a lamination uses the curve form and thin, flexible plies to make a structural curved member. The technique suits door arches, heavy returns, and load-carrying curved frames.
A curved form or jig sets the radius, and the builder clamps the glued plies into the form until the adhesive cures. The form carries the exact profile, so its accuracy sets the finished arch geometry. Plywood form segments and clamps spread pressure along the full curve.
Thin bending plywood strips or veneers coat with waterproof wood glue, stack, and clamp tightly into the form across a caul. Even clamp pressure across the curve keeps the laminate from springing open at the ends. The cured piece holds the radius without mechanical fasteners.
After cure, the laminated arch trims to length and the edges sand smooth where the laminations show. The stacked plies read as a subtle edge pattern that many builders leave as a feature. The finished member installs as one rigid piece over the opening.
For an arch that runs through the wall, a framed plywood skin arcs in place while the structure behind carries the building loads. The panel closes the curve and the framing stands inside the wall.
The builder sets a curved header or bent stud framing that forms the arch line, then fixes flexible plywood over the framing and into the returns. The skin fastens along the curve and the flat runs. The framing and the skin share the geometry, and the skin holds the smooth finish.
A fair curve rises without flat spots or dog-legs, and the builder checks the fixed skin against a batten before the finish goes on. Small dips fill level and tight spots trim so the arch reads smooth from every angle. The fairing check happens before taped joints hide any wobble.
The skin joints get taped and skimmed like drywall or filled flat for paint, and corner beads follow the curve for a crisp edge. The lintel and jamb meet the arch line so the room reads one continuous curve. The arch becomes an opening that carries no visible join.
The finished look of a plywood arch comes from the prep, not the paint can. Good filling, sanding, and priming make the arch read as plaster or wood, whichever the room wants flat.
Filling the veneer seams and any light tear-out, then priming, seals the plywood face so the topcoat dries flat. A quality primer raises the fibers and stops the grain from telegraphing through the paint. Two priming coats give the paint a level base.
Smooth edges, then exacting coats along the curve without over-brushing, leave a clean finish that follows the radius. The final coat and a light sand between coats remove the brush lines on the slope. The arch face finishes with the same painted smoothness as the wall.
Buyers ask the same questions about building plywood arches, and these answers cover the ones that come up most often.
Flexible or wiggle plywood bends across its width for curved skins, and thin strips laminated in a form build deep curved members. Standard sheet cuts suit shallow trim arches.
Yes, by using flexible plywood for a live curve, or by laminating thin plies over a form for tight radii. Sharp curves need the lamination method rather than a single bent sheet.
Mark the curve with a template, cut with a fine jigsaw or router template, and sand the edge. A sharp blade and good support keep the veneer from tearing at the curve.
Shallow trim arches take 6-12 mm stock, while deep reveals and returns use thicker panels. Curved skins rely on flexible plywood, and laminations build the heaviest arches.
Through-wall arches need curved framing or a load-carrying member behind the skin, while cosmetic trim arches mount over the existing opening without structural framing.
A plywood arch builds from a solid-sheet cut for shallow trims, a laminated curve for deep profiles, or a flexible skin for full archways, and the finish work makes the curve read clean. Match the method to the radius, choose a void-free panel, and prep the edge well. For panels that cut and bend cleanly, a manufacturer such as HYY supplies Commercial Plywood and MDF Board with smooth faces ready for arches and curves.