Our Location
5th Floor, Huake Center, Lanshan District, Linyi City, Shandong Province, China

5th Floor, Huake Center, Lanshan District, Linyi City, Shandong Province, China

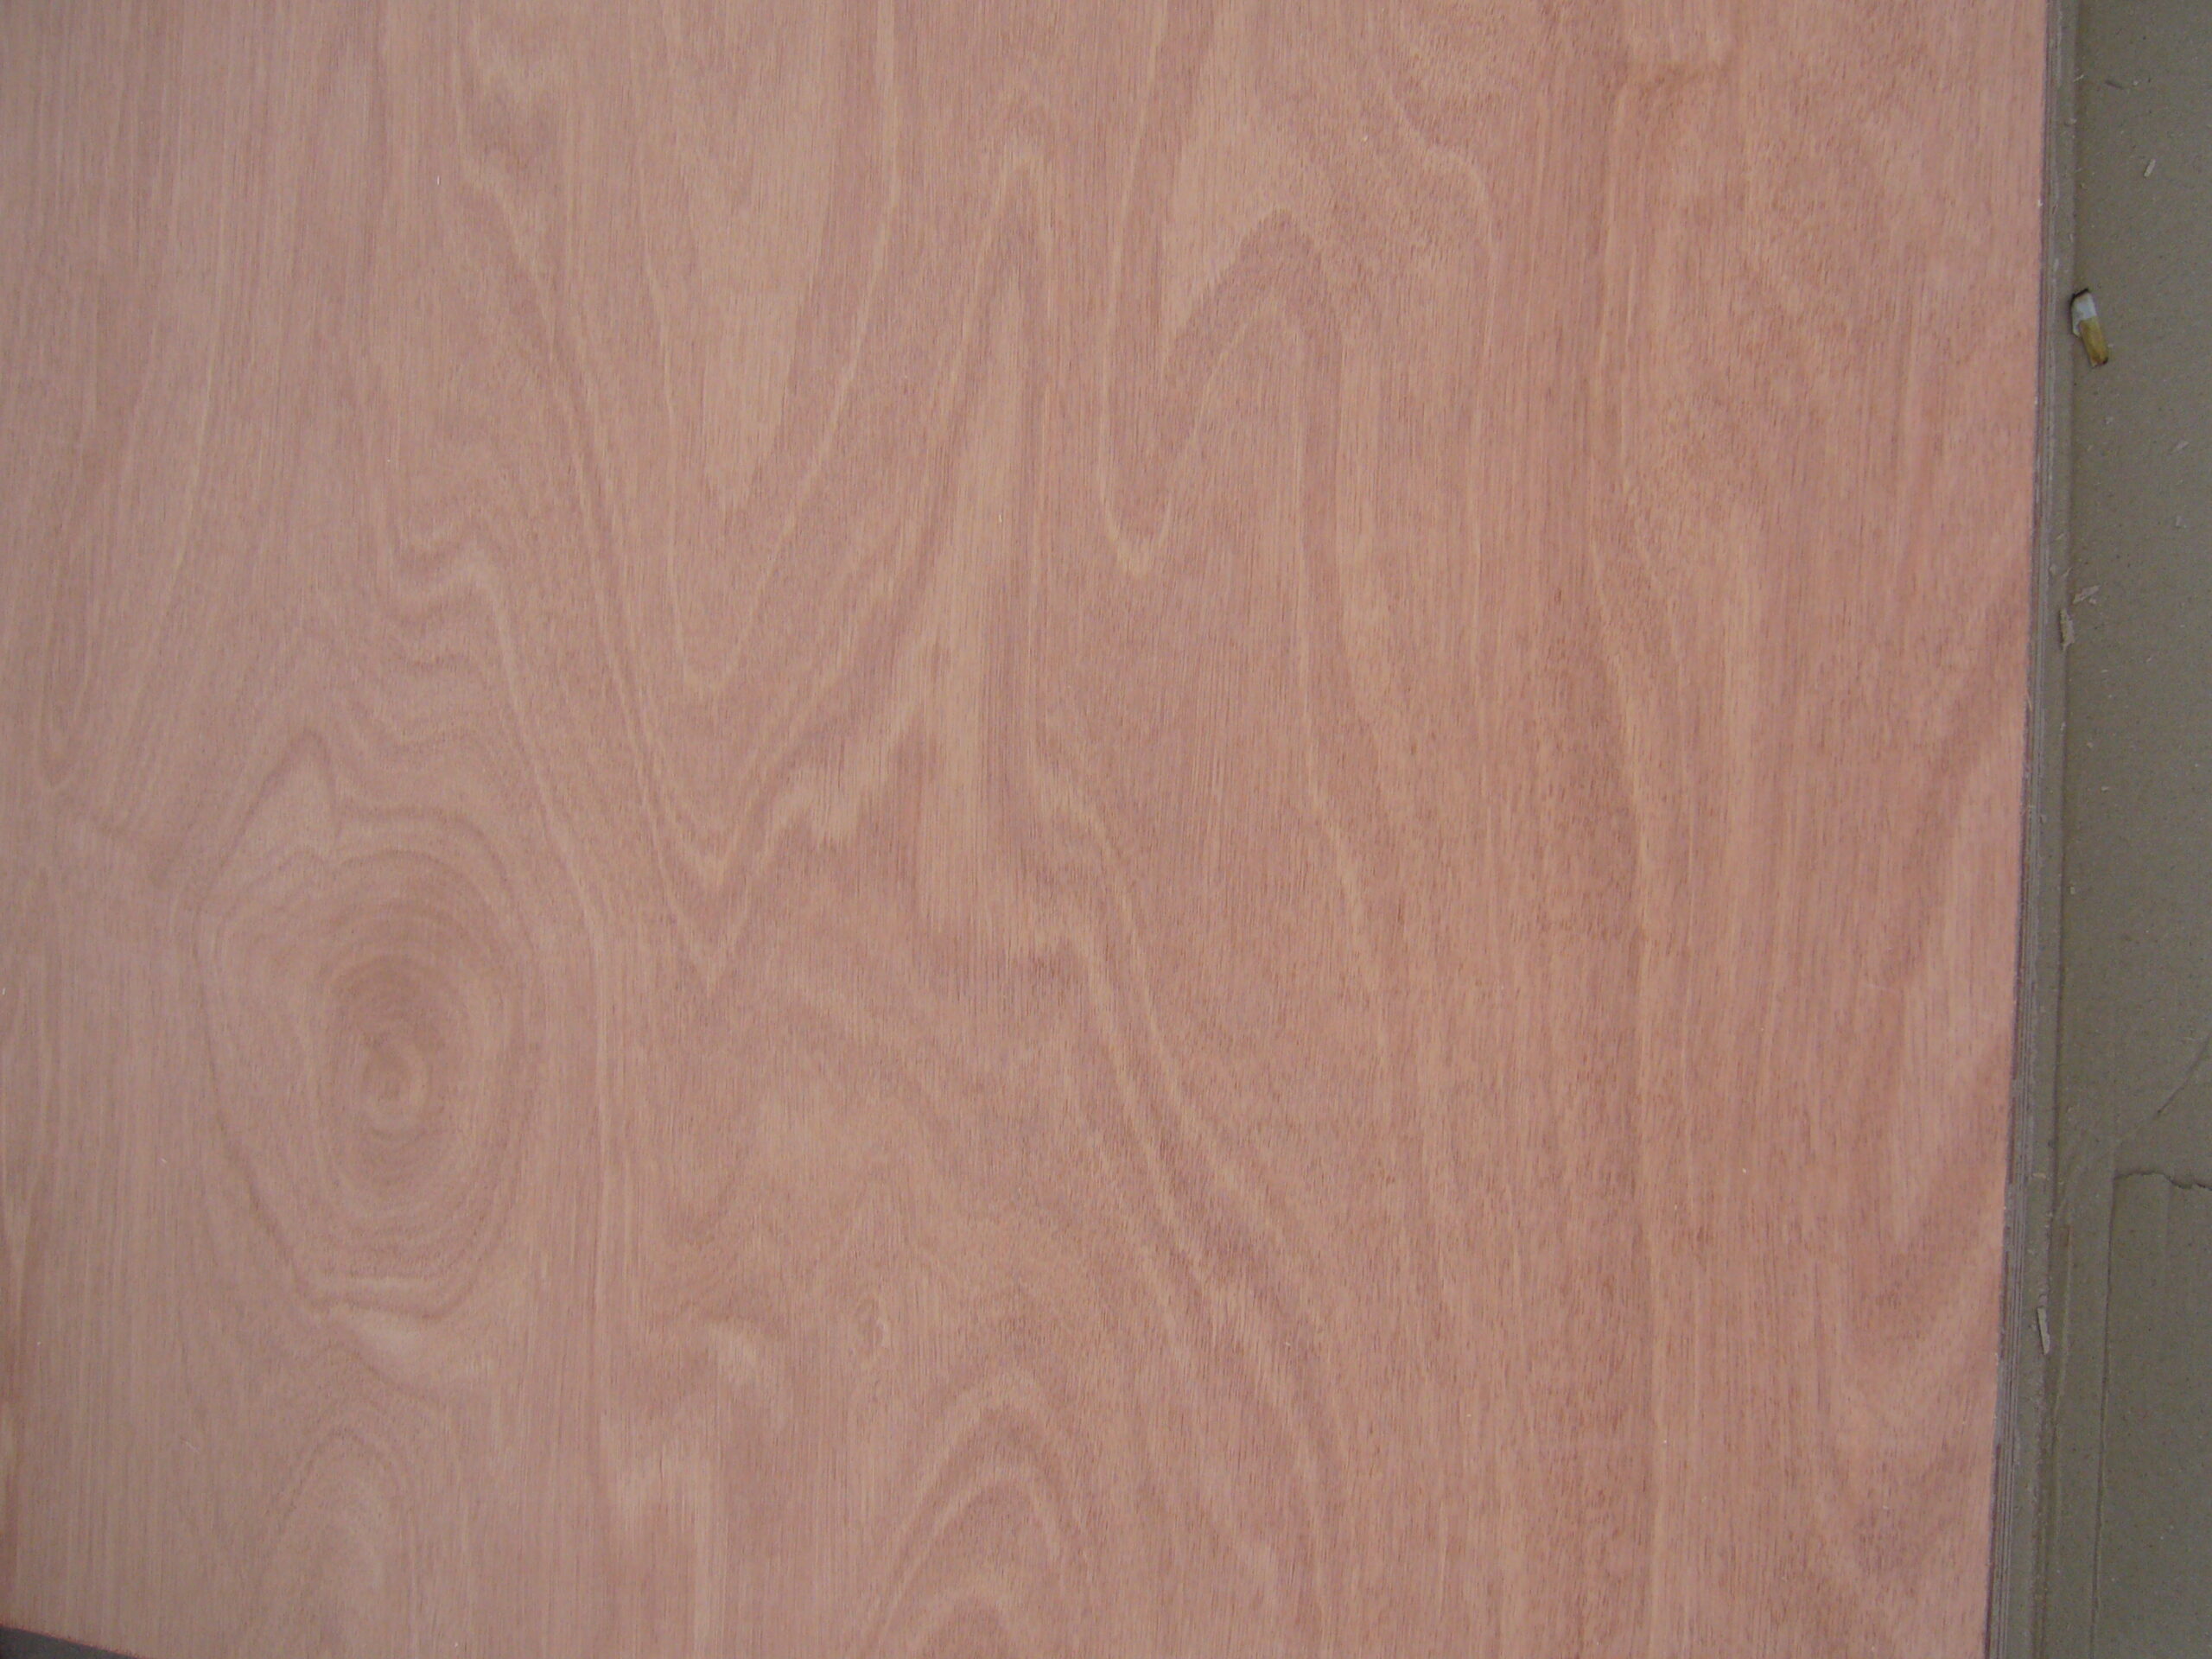
A plywood ceiling is a sheet-lined ceiling used for its flat, clean surface, its fast coverage, and its warm wood finish, common in modern interiors, sheds, and commercial fit-outs. A plywood ceiling panels a room with 2440 x 1220 mm sheets fixed to the joists, then finished with paint, oil, or a clear coat. This guide explains how a plywood ceiling is structured, which grades to choose, how it installs, and the finishing and lighting details that make it look deliberate.
Plywood boards are being speced again because they give a ceiling a smooth, board-marked surface that drywall cannot match and panels form faster over a whole room. The sheets screw to the ceiling framing, the joints get detailed or hidden, and the face becomes the finished ceiling.
A plywood ceiling wins on three counts: speed of coverage, a clean continuous face, and a natural wood character that painted drywall cannot imitate. It suits rooms where the owner wants a warm, architectural surface without tiling or plastering.
Full-size sheets cover large ceiling areas in a few lifts, and a two-person crew fixes a whole room in a day against the multi-coat timeline of plasterboard and finish. The sheets screw straight into the joists or battens. The speed saves labor and gets the room watertight quickly.
Plywood forms a flat plane with visible sheet joints that read as a deliberate grid or are hidden with trim or filler. The board marks give the ceiling a crafted texture that differs from smooth white drywall. The finish choice decides whether the joints show or disappear.
A clear-finished plywood ceiling brings the wood grain into the room, adding warmth under lamps and a soft acoustic character. The panel reflects light evenly across its smooth face. Homeowners and fit-out specifiers choose the look for its natural, calm presence.
| Ceiling type | Finish | Character |
|---|---|---|
| Clear-coated ply | Oil, lacquer, clear | Warm wood grain |
| Painted ply | Primer then color | Clean paneled surface |
| V-jointed ply | Natural or tinted | Grooved board lines |
| Drywall | Skim and paint | Flat seamless white |
The ceiling face is one of the most visible surfaces in the room, so the grade carries the look. Interior-grade panels with a clean sanded face fit a painted or clear ceiling, and the buyer avoids sheathing grades that would show patchy faces.
A B or better face with a smooth sanded surface suits the visible ceiling, taking paint or clear coats evenly. Utility and sheathing faces carry patches and rough grain that show across a whole ceiling plane. The buyer specifies the face grade from the start.
Sanded plywood gives a ready-to-finish surface, overlaid panels give a smooth paint-ready skin, and prefinished panels arrive with the coat already applied. The prefinished line saves the site finishing step. The choice trades preparation cost against the installed speed.
V-jointed plywood sheets carry a routed groove along the edges that reads as classic tongue-and-groove board lines across the ceiling. The groove pretties the joint and hides any panel movement. Many ceilings choose the V-joint specifically for the board look.
A plywood ceiling installs over the ceiling joists or a batten grid, with the sheets screwed flat and the joints detailed. The layout and the fixing pattern decide how level and how stable the finished plane becomes.
Sheets screw to the joists when they run aligned with the sheet or to a batten grid when they cross. The fixing points sit at the sheet edges and on a 150-200 mm pattern across the field. The screws hold the sheet flat against the framing with no sag.
The layout staggers the sheet joints so no four corners meet, dispersing the seams across the ceiling. A gap or a tight line between sheets follows the finish plan, with filler for flush joints or trim for revealed ones. The layout plan prints on the sheets before any fixing.
Panels sit in the room for a few days before fixing so the moisture equalizes with the space and the boards stop moving after install. A plywood ceiling that moves later opens hairline joints at the seams. Acclimatization prevents most of that movement.
The finish turns the installed sheet into the final ceiling: filler and paint for a clean plane, or oil and clear coat for a wood look. Every finish starts the same way, with the face clean, sanded, and dry.
The panels sand lightly, the screw heads punch below the surface, and the joint filler sets flush where the plan wants a smooth ceiling. Dust wipes off before any coat. The prep stage makes the difference between a builder finish and a fitted finish.
A primer seals the face and the joints, then two topcoats cover at the color chosen, rolled along the sheet direction. The ceiling reads as one flat, paneled white plane. A painted ply ceiling keeps the board texture while the color unifies the room.
Oils and clear coats build warmth on the wood face, and the buyer tests the sealer on an offcut to see the final tone. The finish deepens the grain and protects the face from dust. The clear finish is the direct reason many buyers choose ply in the first place.
The ceiling’s success comes from the details around it: recessed lights, battens, and the perimeter trim that tie the plane to the walls. Lighting plans mark before the sheets go up, because the cuts happen in the panel.
Recessed downlights cut into the ply with a holesaw before fixing, or the panel drills in place over a marked spot. Surface fixtures screw through the sheet into the framing behind. The light cut-outs set the layout pattern across the ceiling plane.
A perimeter gap closes with molding, or the ply edge butts to the wall with a shadow gap for a modern line. Beams and bulkheads cut around with clean returns. The perimeter detail finishes the plywood plane where it meets the room.
Insulation sits above the sheets in the joist cavities, quieting the room and stabilizing the temperature. The ceiling panel keeps the insulation in place while giving the finished surface. The ply face and the cavity fill work together on comfort.
A plywood ceiling needs little upkeep once finished: dusting, the occasional wipe-down, and a periodic re-coat on clear finishes. The flat face and closed pores keep it easy to maintain through years of service.
A dry cloth or a soft brush keeps the face dust-free, and painted or sealed surfaces wipe down with a damp cloth without damage. Clear-finished wood takes the same care as the furniture finishes in the room. The ceiling stays clean because the surface holds no texture to trap dust.
Clear coats and oils wear at the edges near handling and sunlight, and a thin re-coat every few years restores them. The buyer matches the maintenance coat to the original finish for a seamless refresh. Re-coating keeps the wood tones even as the ceiling ages.
The owner checks the ceiling for any joint movement after the first heating season, when panel movement settles. A hairline joint that opens gets a touch of matched filler and a re-coat. The structural sheets beneath the finish never need attention.
Buyers ask the same questions about plywood ceilings, and these answers cover the ones that come up most often.
Yes. Plywood panels a ceiling fast, gives a flat clean surface, and finishes painted or clear-coated. Interior-grade sheets with a sanded face suit the visible plane best.
Choose an interior-grade B or better face, sanded for paint or clear coat. V-jointed plywood adds a classic grooved board line, and prefinished panels skip the site coating step.
A two-person crew boards and finishes a whole room floor in a day against the multi-layer timeline of plasterboard and skim. The sheets screw to the framing and the joints detail the same day.
Not necessarily. A clear oil or lacquer shows the wood, while paint gives a clean paneled white plane. The finish choice drives the whole prep either way.
Acclimatize the panels to the room, stagger the joints, and leave the fixing gap the finish calls for. Filler for flush joints and trim for revealed lines both accommodate normal panel movement.
A plywood ceiling covers a room fast with a flat, warm plane that finishes painted or clear, and the right grade, layout, and coating make it look deliberate. Acclimatize the sheets, stagger the joints, and detail the perimeter and lights. For ceiling-ready panels, a manufacturer such as HYY supplies Commercial Plywood and Melamine Plywood with smooth sanded faces ready for the finish of your choice.