Our Location
5th Floor, Huake Center, Lanshan District, Linyi City, Shandong Province, China

5th Floor, Huake Center, Lanshan District, Linyi City, Shandong Province, China

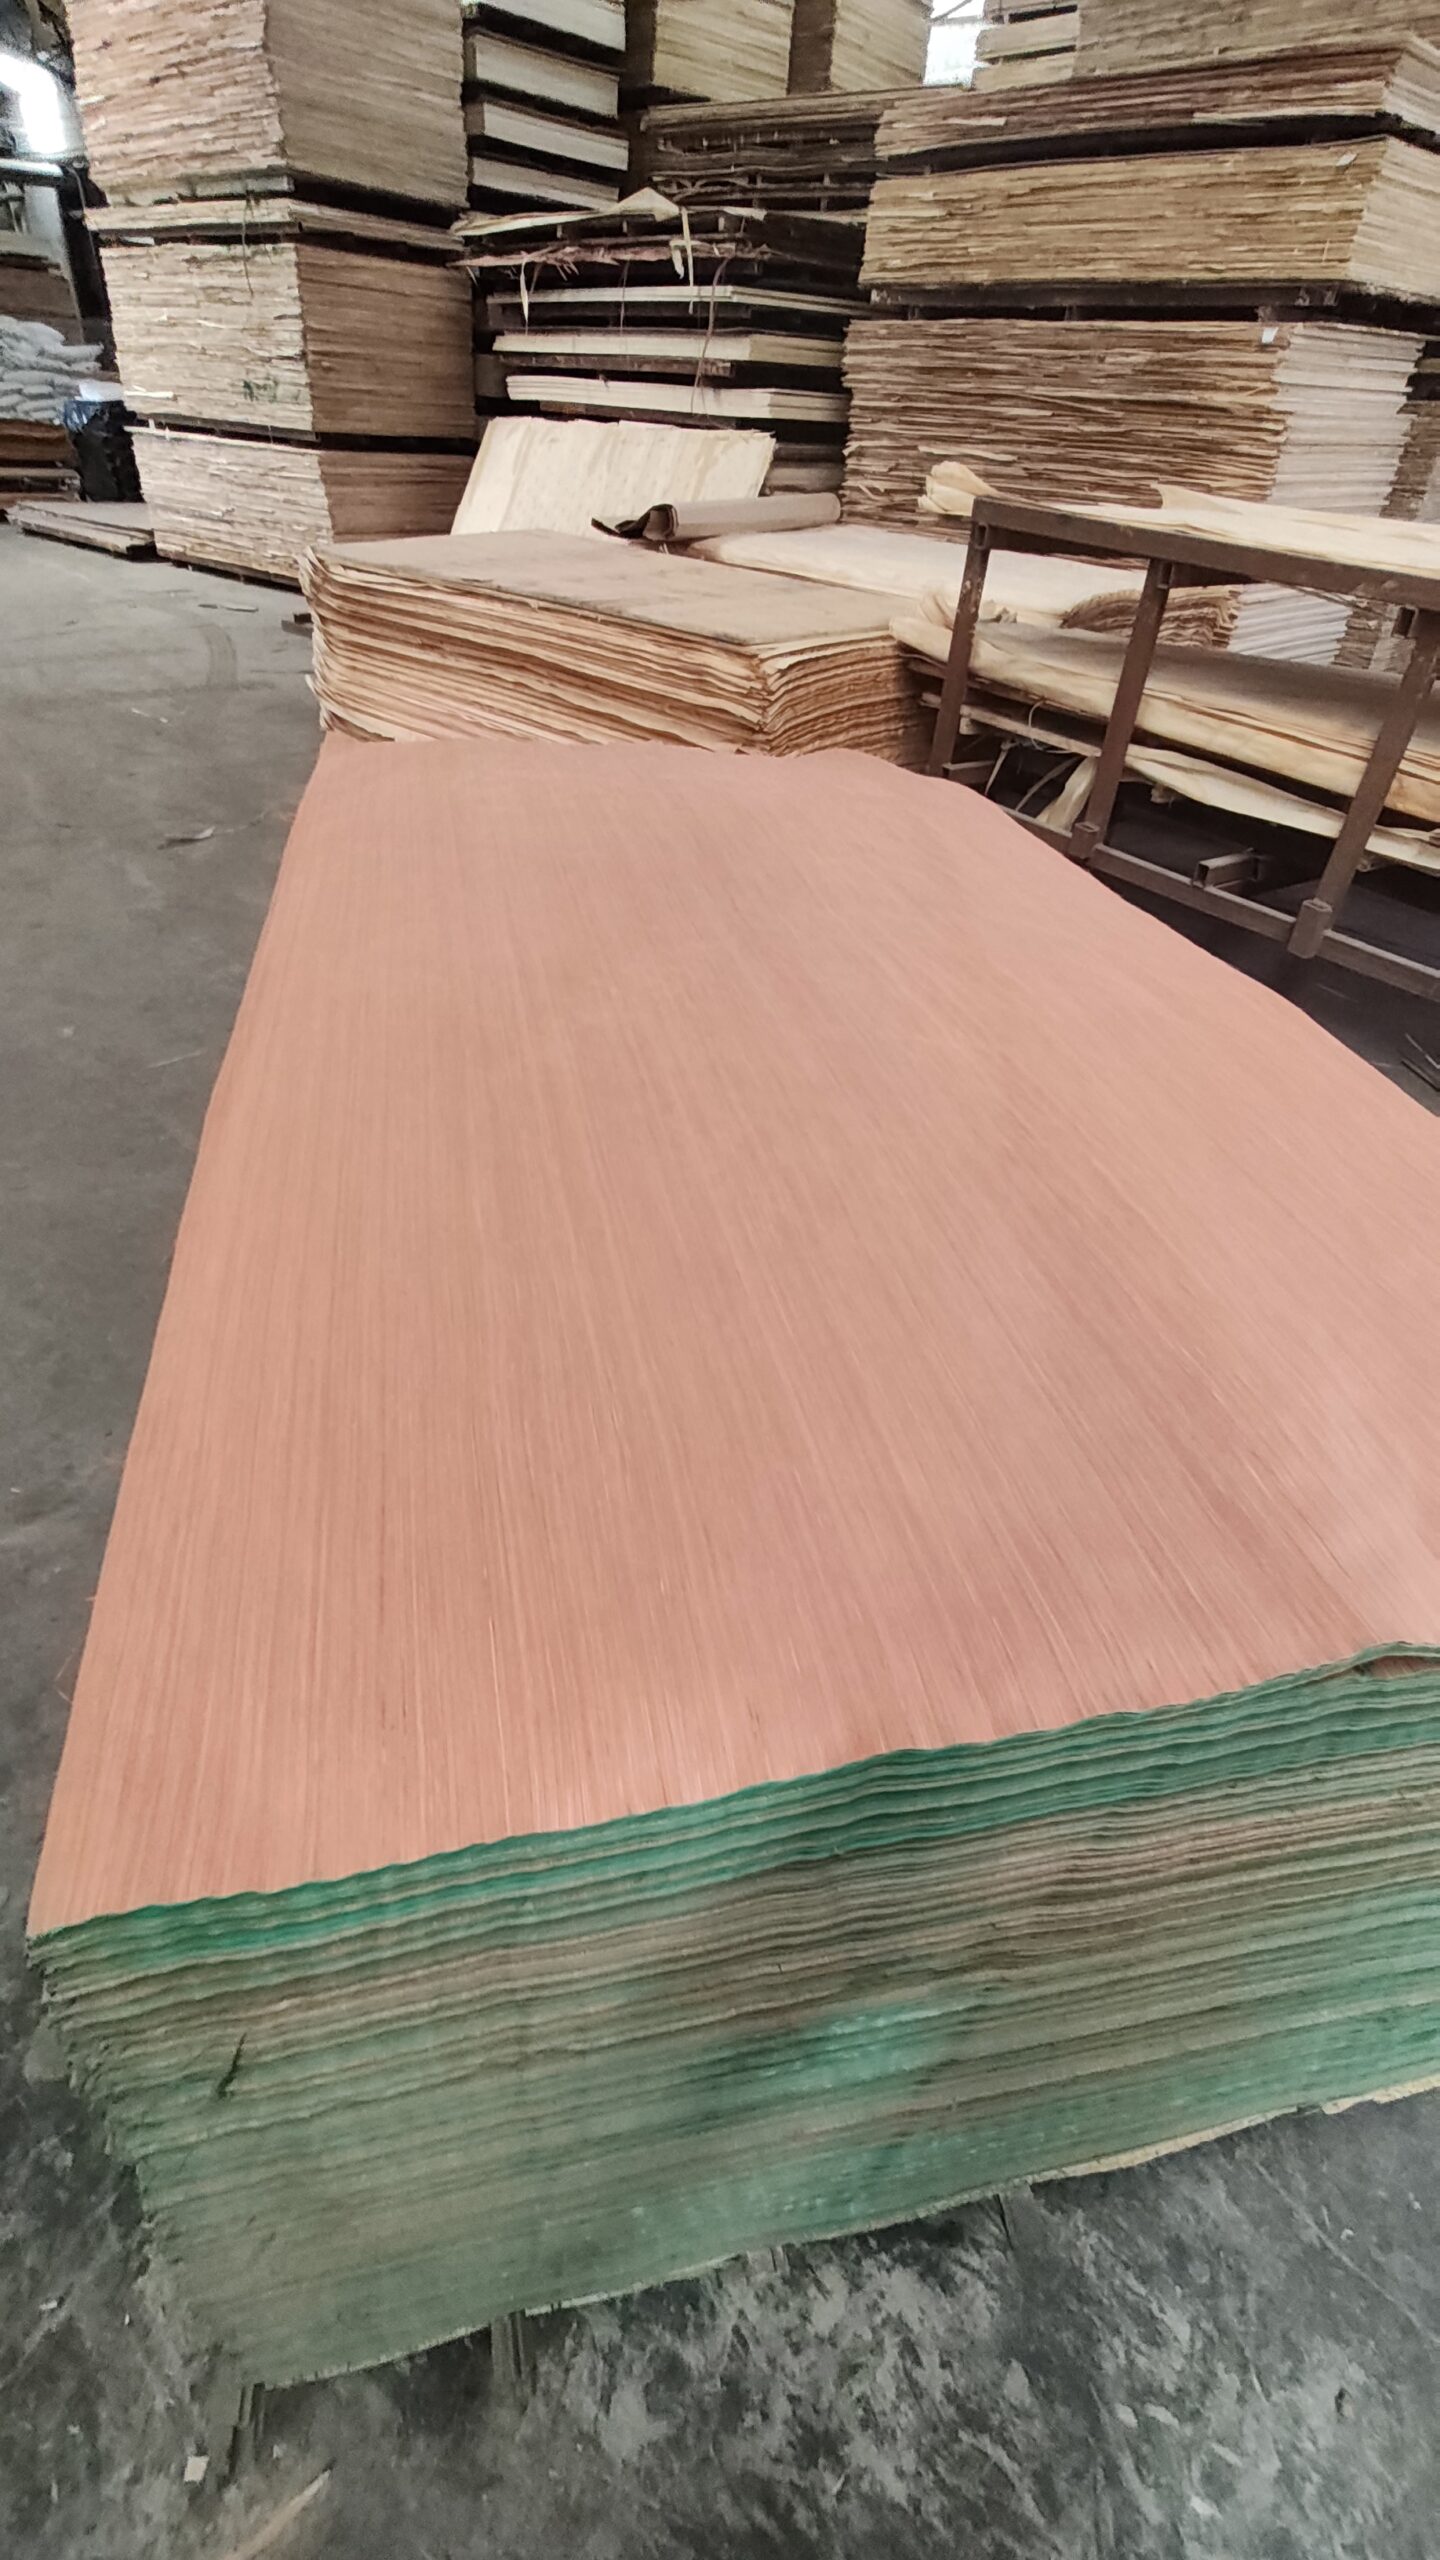
How to make plywood is a question that fascinates buyers and fabricators alike, because the answer explains why this one wood product stays flat where solid boards warp. Making plywood means peeling a log into thin veneers, drying and grading them, gluing the layers in alternating grain directions, and pressing the stack under heat into a rigid panel. When buyers ask how make plywood works in a commercial mill, the answer runs from the conditioning vat to the sanding line, and this guide walks that whole process to show which steps decide the quality they pay for.
Manufacturing plywood is a precise supply-chain operation, not a workshop craft. Each stage, from the conditioning vat to the sanding line, changes the finished panel, and the mill’s discipline across those stages is what separates premium stock from panels that cup and delaminate.
Making a panel starts with selecting and preparing logs. The species, diameter, and soundness of the log set the maximum veneer quality and the grade of faces the mill can produce.
Operators debark the logs and cut them to lengths that fit the peeling lathe, usually sized to the long dimension of the final sheet. Clean bark removal protects the blade and keeps grit out of the veneer. The cut lengths and diameters determine whether a log feeds the main panel line or goes to specialist products.
The prepared logs sit in steam or hot water baths until the fibers soften enough to peel cleanly. Conditioning time depends on species and diameter: softwoods soften quickly, while dense hardwoods need longer. A well-conditioned log produces an unbroken veneer ribbon, while an under-steamed log tears at the lathe.
| Species | Conditioning note | Peel result |
|---|---|---|
| Poplar | Short soak | Smooth, even ribbon |
| Pine | Short steam | Resin-rich even veneer |
| Birch | Longer steam | Clean strong veneer |
| Eucalyptus | Long conditioning | Hard wearing face |
The conditioned log moves to the peeling lathe, where the first real veneer is cut. From there the ribbon is clipped, dried, and sorted by quality before it can join the layup.
The log spins against a fixed blade that trims a continuous veneer ribbon from its full length. Blade sharpness and feed rate control veneer thickness from about 0.5 mm to several millimeters. A clean, even ribbon across the whole log is the mill’s first quality checkpoint.
Workers clip the ribbon into manageable sheets, then dry it to a low and even moisture content. Drying is critical because the moisture level controls how well the glue wets and bonds the veneer later. Over-dried veneer gets brittle; under-dried veneer starves the glue joint.
After drying, operators or scanners grade the veneer by visible quality: clean tight faces grade toward A and B, while knots, patches, and discoloration drop a face to C and utility. The grade sorting at this stage decides the certificate letter a buyer later reads on the panel.
The heart of making plywood is the layup, where the operator stacks veneers with adhesive and every layer’s grain runs across the layers beside it. This crossing is the entire reason plywood stays flat.
Glue spreads onto the veneers in controlled amounts, and the adhesive class sets the panel’s service limit: interior glue for dry rooms, exterior and structural glues for damp or load-bearing work. The glue line on the certificate is the line that decides the panel’s duty.
The stack uses an odd number of plies, usually three, five, seven, or more, so the construction remains balanced around the center. For every veneer that pulls one way under moisture change, the mirror veneer pulls back, keeping the panel flat. Unbalanced layups are the most common route to cupped panels.
The center may be solid veneers, a spliced and patched core, or a composite core. A solid veneer core cuts cleaner edges for furniture, while a spliced core lowers cost on decorative work. The core type appears on the spec and sets the edge and screw behavior the fabricator expects.
The stacked mat moves into a heated press where pressure and temperature cure the glue and weld the veneers into one rigid panel. The press cycle is the moment where layup mistakes become permanent defects.
Heat cures the adhesive while pressure compresses the veneers into full contact for a continuous bond. Engineers match the press settings to the glue system, the veneer thickness, and the panel size, and every product line carries its own cycle recipe. A correct cycle leaves the panel tight, flat, and free of blisters.
Under-cured glue shows up later as edge delamination; excess pressure starves the joint and leaves brittle glue lines; and trapped steam or air creates face blisters. These defects appear after cutting or in damp service, minutes after the press closed the door. Consistent press control is the mill’s quality backstop.
Out of the press, the line trims the panel square, sands it to its face grade, and finishes it with any overlay the product line calls for. This stage gives the sheet its nominal dimensions and its ready-to-use face.
A finishing saw cuts the panel to its nominal size with square corners and straight edges. The trimmed edge exposes the core, so it is also the first visible quality check: dense, void-free edges indicate a clean layup, while honeycomb edges signal core gaps that will trouble the fabricator.
Sandpapers step down through grits until the face reaches the ordered grade, from smooth-ready-to-paint to filled and primed. Film-faced and overlaid products then take their extra layer for formwork or moisture service. The finished face and the trimmed edge together complete the panel.
Finished panels pass inspection against the standard, and certified stock carries a stamp that ties the batch to a test record. The certificate names the species, grade, glue, thickness, and standard, and it is the document a buyer checks against delivered goods.
Quality control samples panels for bond strength, moisture content, thickness, and flatness against published limits. Batch numbers trace a defective run to its source if panels fail in service. The stamp on every sheet ties the pallet to the test record.
Buyers compare the delivered stamp to the certificate, measure thickness and squareness on a sample, and inspect edges for voids. Panels that miss spec return under the claim window while the batch record stays intact. The dock check is where the mill’s certification becomes the buyer’s protection.
A cupped sheet points back to an unbalanced layup, a blistered face to a press moisture fault, and a wavy edge to weak veneer drying. Reading those defects backwards helps a buyer spot a mill’s weak stage before a large order. The certificate and batch record let the two sides talk about the correction instead of arguing over the symptom.
Buyers ask the same making-plywood questions, and these answers cover the ones that come up most often.
In a small way yes, by gluing and clamping veneers in a homemade press, but commercial plywood needs industrial peeling, even drying, and controlled hot pressing. DIY panels lack the balance and bond of a mill product.
The main line uses a peeling lathe, veneer dryers, glue spreaders, layup tables, a hot press, and sanding and trimming lines. It is a continuous industrial process, not a set of hand tools.
An odd count keeps the construction balanced around the center so expansion in one direction matches the opposite pull of the mirror veneer. Odd layups keep the panel flat when humidity changes.
Modern plywood uses fast-growing plantation timber and turns a high share of each log into product. Certified sourcing and low-emission adhesives answer the main environmental concerns on the certificate.
The continuous line processes a panel in minutes, but conditioning, drying, pressing, finishing, and testing add up to days from log to a certified batch ready to ship.
Making plywood is a controlled chain: crews steam-soften the log, peel it into veneer, dry and grade the veneer, lay it up in crossed glue layers, hot-press the stack, trim it, and certify the batch. Every stage shows up in the finished sheet, and buyers who read the certificate and inspect the edge at delivery take panels built to spec. For plywood off a controlled line, a manufacturer such as HYY produces Commercial Plywood and Melamine Plywood with the batch records on every order.